How to Enable CDN for Your Websites
Although our hosting platform didn't integrate Cloudflare's CDN service at the moment, clients can still use the service to speed up their websites. This article will guide you on enabling CDN for your Hugo sites.
Preconditions:
- You have an account at Cloudflare.
- You have a registered domain. If you have not purchased a domain name yet, we recommend that you get one at Database Mart.
- You have an active Hugo instance at Cloud Clusters.
Table of Contents:
Deploy a Hugo Instance
Create a Cloudflare account and add domain to Cloudflare
Set up Two DNS A Records at Cloudflare
Add Your Domain to Hugo
Enable CDN for Your Domain at Cloudflare
Verify If CDN is Enabled for Your Domain
1. Deploy a Hugo instance
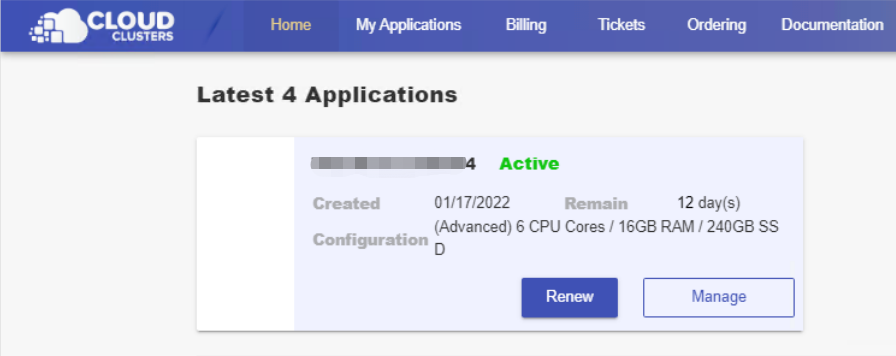
To deploy an Hugo, please log in to the control Panel and click the "order now."
2. Create a Cloudflare account and add domain to Cloudflare
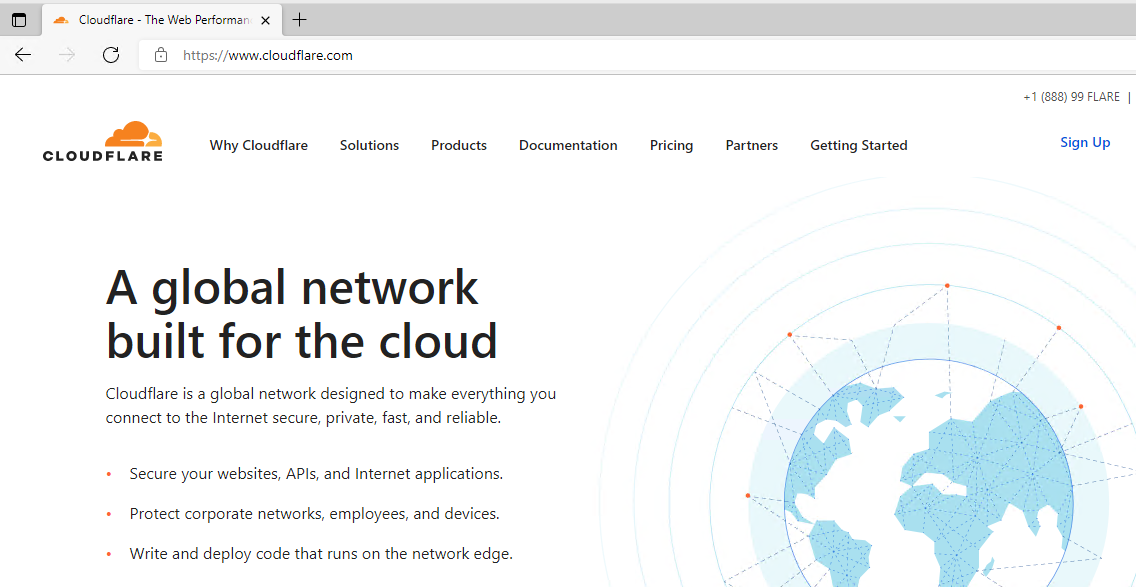
Create your Cloudflare account.
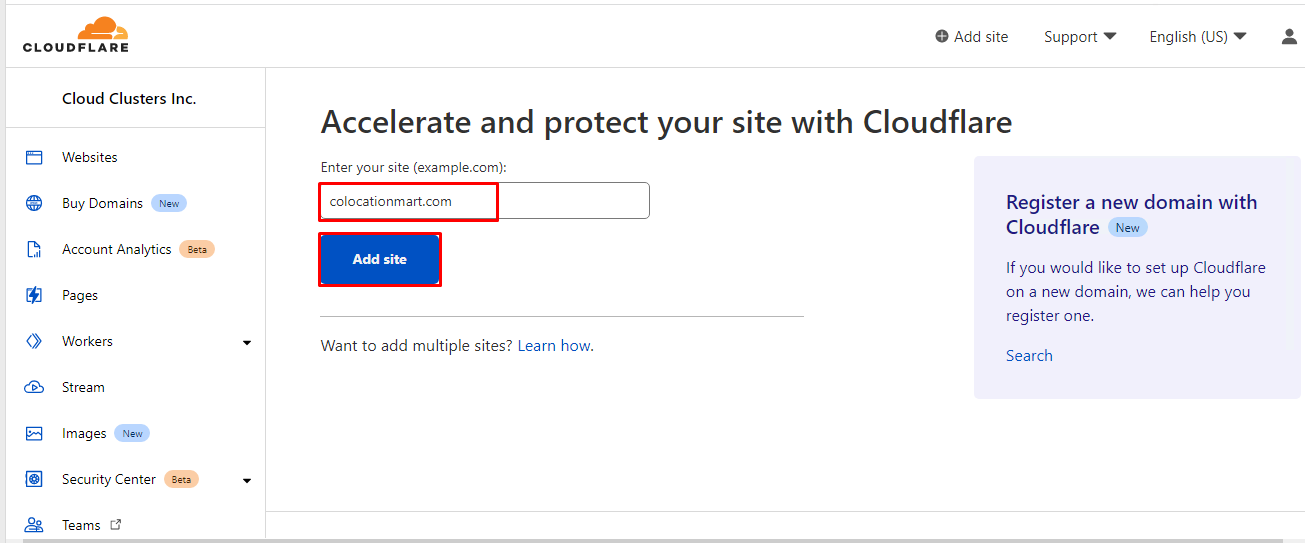
Add your website domain to Cloudflare.
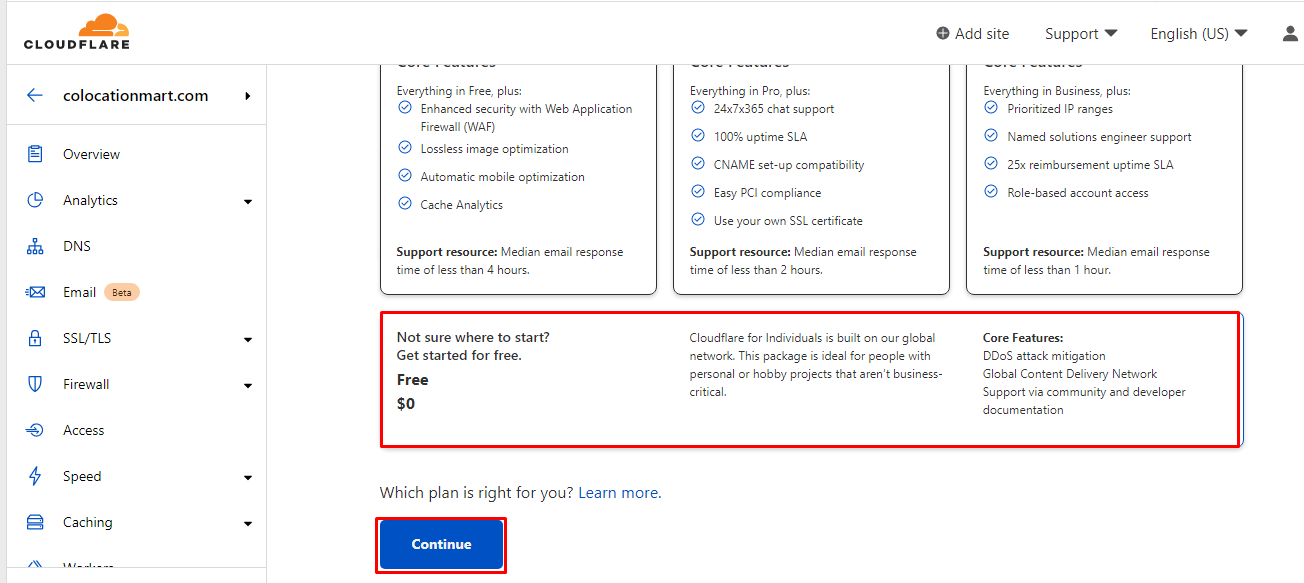
Select a CDN plan that matches your needs. If you could not decide at the moment, choose the free plan to get started.
3. Set up two DNS A records at Cloudflare
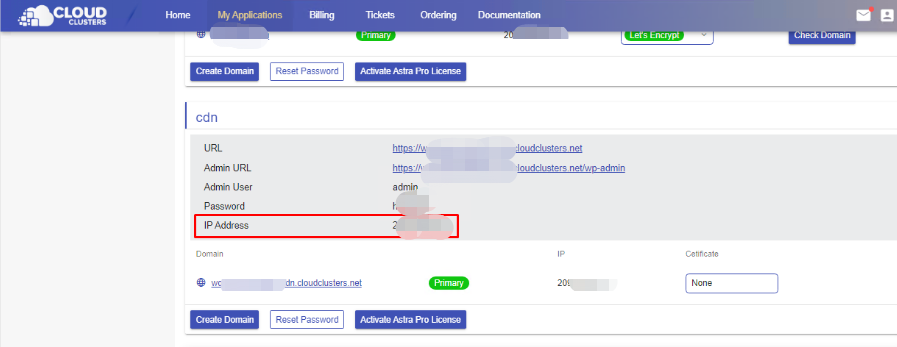
The IP address can be found from the hosting Control Panel of ODClusters.
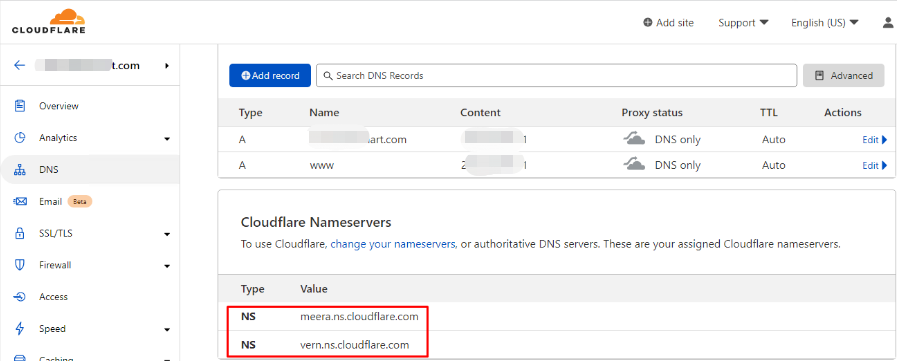
Add the two DNS A records. Then, enable the DNS only mode for your domain and make sure the Proxy status is disabled.

Change the name servers to cloudflare name servers for your domain at your domain provider.
4. Add your domain to Hugo
This part includes adding domain and enabling SSL. You can refer to the guidance adding your domain to Hugo for details.
Note:
Please choose the "No, I will use my own name servers(and point my domain to IP address)" option when adding domain.
5. Enable CDN for your domain at Cloudflare
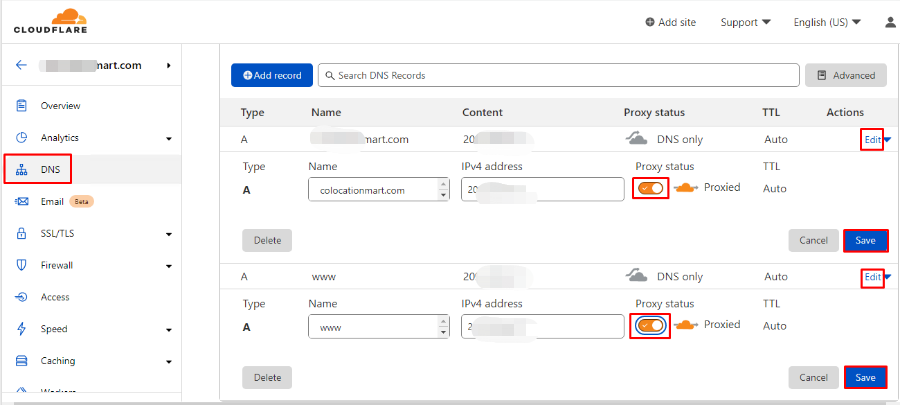
On cloudflare client panel, enable proxy status for your two domain DNS records, then save the changes.
Enable the Full mode for your website SSL/TLS encryption.

6. Verify if CDN is enabled for your domain
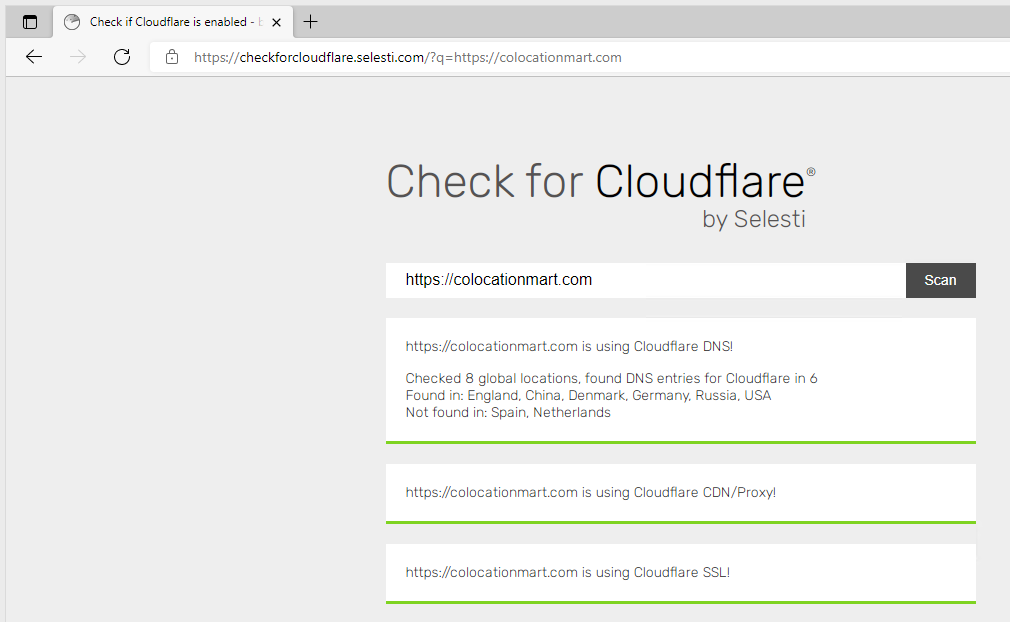
You can verify if CDN is enabled for your domain at https://checkforcloudflare.selesti.com/
